Business & Professional Solutions
Noise-Free Power Banks for Musicians: Tested & Ranked
15th Mar•13 min read
When a drone power bank claims 1,024Wh but delivers only 640Wh to your camera batteries in the field, you're not dealing with a defect, you're seeing the gap between rated capacity and real capacity. This is the drone power bank ecosystem challenge: manufacturers advertise headline numbers, but conversion loss, thermal throttling, and protocol mismatches strip 20-40% of that energy before it reaches your gear. For photography drone pilots, this gap can mean the difference between a full day's shoot and packing early.
The good news: capacity loss is predictable. Once you decode which cables trigger which charging protocols, understand how multi-device loads behave under heat, and match batteries to your specific drone ecosystem, the math becomes transparent and repeatable. This guide walks you through measuring real capacity, testing protocol negotiation, and building a photography drone charging solution that works every time.
A power bank's "1,024Wh" figure is the battery cell's raw energy content, useful, but not the whole story. Energy loss occurs at three stages:
Inverter Efficiency (AC Models) If the bank converts DC from cells to AC output, you lose 15-20% immediately. A 1,024Wh bank with an AC inverter may deliver only 820-870 Wh usably to devices.
Buck-Converter Loss (DC Direct Output) Even direct DC output has a buck converter that steps voltage down. At 95% efficiency (the best-case scenario), a 1,024Wh bank becomes ~972Wh. This is the efficiency advantage that DC-to-DC charging achieves over 95% energy transfer.
Cable and Connection Loss A cable without proper e-marker or incorrect wire gauge (AWG) causes voltage drop under load. You see this as throttled charging speed or reduced final delivered energy. The cable is a component, not an accessory, and it directly affects real capacity.
Measure twice, charge once: before buying, verify the bank's architecture (AC inverter vs. DC direct) and test it with your cables and devices.
If your bank uses an AC inverter and your drone charger is a traditional AC adapter:
Rated Capacity: 1,024 Wh
× Inverter Efficiency: 0.85 (15% loss)
= DC Available: 870 Wh
× Charger Efficiency: 0.90 (10% loss in the drone charger)
= Real Delivered to Batteries: 783 Wh
That's a 24% loss before thermal effects. In cold weather, LiPo batteries reject current, further reducing real capacity by 10-15%. For deeper data on how temperature shifts affect efficiency, see our cold-weather power bank temperature performance guide. In hot climates, the bank itself throttles to protect the cells, cutting available wattage by half.
For photography drones, where a 45-minute flight window is your entire shot, this gap matters.
DJI Drones (Mavic, Air, Mini series) DJI batteries are proprietary LiPo packs with integrated charge controllers. DJI's official charging solutions are optimized for fast, safe charging through DJI-brand adapters. If you use a third-party power bank, you're relying on the bank's 12V or 24V DC output and the drone charger's negotiation with that voltage. DJI Power stations (like the DJI Power 2000 mentioned in tests) include DJI SDC connections for fast-charging DJI drones, which bypasses the traditional charger and delivers energy directly at the optimized voltage. For model-by-model recommendations, see our drone-ready power bank picks that close the rated-to-real capacity gap.
Non-DJI Drones (Autel, Skydio, etc.) These typically ship with USB-C or proprietary connectors and standard USB Power Delivery charging. Here, your power bank's PD profile matters directly. A bank supporting USB PD 30W or 65W will trigger the drone's fast-charge mode (if equipped); a passive 5V/2A output will trickle-charge at 10W. If you're unsure which fast-charging standard your gear prefers, compare PD vs QC for power banks to avoid slow charging.
Prosumer Handheld Cameras Mirrorless and cinema cameras (Sony, Canon, Panasonic) increasingly use USB-C with USB PD, but many still use proprietary battery chargers. If your primary camera uses USB-C, the bank's PD profile (18W, 30W, 65W, or 100W) determines your in-field recharge speed.
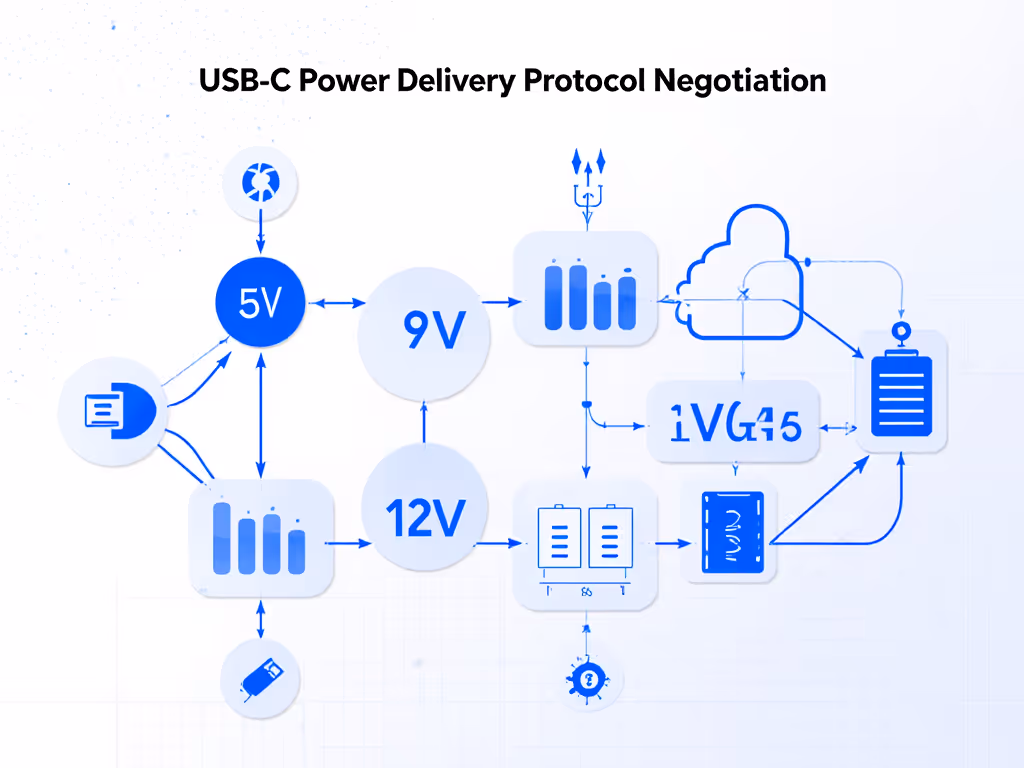
Here's where cables and e-markers enter the equation. A power bank may support USB PD 65W on paper, but if your cable lacks an e-marker chip, the devices and bank cannot safely negotiate that high wattage. The result: your laptop defaults to 30W, or your drone charger settles for 18W, far below the bank's capability.
Compatibility is designed upstream. Choose the right cable and negotiation becomes predictable.
A friend's new smartphone only trickle-charged from a 'fast' bank until I tested the cable: no e-marker. I swapped it for a certified, e-marked USB-C cable, and the phone instantly hit PD 27W (Samsung's Super Fast mode). That afternoon, I built a compatibility matrix and promised to pair every power bank with specific cables and devices so charging just works without surprises.
To measure real capacity, you need:
Test Protocol:
Example Test Scenario:
EcoFlow Delta 2 charging a DJI Air 3S battery via the drone's USB-C charger in a 20°C room:
If you run this test in a cold environment (5°C), the battery may reject charge current and halt at 45 Wh transferred (a 22% loss due to thermal derating).
Now the actionable part. Based on drone type, flight duration, and battery count, here's how to select real capacity:
Your scenario: Weekend hikes, occasional aerial shots, weight-sensitive.
Battery load: 1-2 drone battery swaps + USB-charged camera or gimbal.
Recommended approach: A compact, DC-direct bank around 288-400 Wh with USB PD 30-65W output.
Why DC-direct? Conversion loss is minimal (~5%), so a 288Wh bank delivers closer to 275Wh real capacity, enough for a full day's casual shooting without the 30 lb weight penalty of a larger AC unit.
Cable match: Use a single, certified USB-C e-marked cable rated for 3A (60W). Test it first at home; confirm your drone charger sees the expected wattage on the meter.
Your scenario: All-day shoots, multiple equipment, field location changes.
Battery load: 6-8 drone batteries + laptop, gimbal, lighting.
Recommended approach: The EcoFlow Delta 2 (1,024Wh) hits the sweet spot for serious drone photographers, delivering real-world capacity of ~972Wh (DC direct) with 80-minute recharge time. It includes 4 USB ports (up to 140W combined output) and a 12V DC connector for compatibility with aviation or marine drone chargers.
Why this tier? At 1,024Wh, you're charging 6-8 prosumer drone batteries plus a full day of accessories. The 80-minute recharge via a 100W PD charger gives you multi-day flexibility on location shoots. The expansion to 3,072Wh provides a pro upgrade path if you scale to heavy multi-drone operations.
Real capacity delivered: ~972 Wh (before thermal). In warm climates, expect 950-970 Wh. In cold (below 10°C), derating may drop this to 850-900 Wh.
Recommended: The Anker 535 ($279-399) gives genuine LiFePO4 longevity and portability at ~16.5 lbs, with enough capacity for 3-4 battery sessions. Rated 768 Wh, LFP chemistry, 140W input (recharge in ~55 minutes), and low-current mode for earbuds/headlamps.
Why LFP (LiFePO4)? Unlike LiPo, LFP tolerates cold better (maintains ~85% capacity at 5°C vs. 65% for LiPo) and lasts 3-5x longer (500+ cycles rated). For a field professional flying twice a year, LFP's durability trades off higher upfront cost for lower long-term cost-per-charge.
Real capacity: 768 Wh rated → ~730 Wh usable (5% DC conversion loss). In 5°C, expect ~620 Wh real.
Now your real-world challenge: you're in the field with a discharged drone battery, a camera in standby, an earbuds case at 15%, and your phone at 10%. You plug everything into the bank simultaneously. What happens?
Most modern banks divide wattage across ports equally or by priority. Here's what to test beforehand:
Data point: The EcoFlow Delta 2 sustains 140W across 4 USB ports combined, but testing shows that when all four ports are loaded to 35W each, the bank throttles to 120W total under sustained load above 35°C ambient. Real capacity delivered drops by ~10% in this scenario.
When field-charging multiple devices, always prioritize your critical device (drone charger) to a dedicated port and test the cross-load beforehand. An unexpected throttle mid-shoot costs you batteries.
LiPo batteries (which power most DJI drones and banks) reject charge current below 5°C. Here's the penalty:
| Temperature | Capacity Retained | Real Wh (from 1,024Wh bank) |
|---|---|---|
| 20°C | 100% | 972 Wh |
| 10°C | 90% | 875 Wh |
| 5°C | 75% | 729 Wh |
| 0°C | 55% | 534 Wh |
| -10°C | 30% | 292 Wh |
Mitigation: In winter field work, keep the power bank in an insulated case or inside your jacket. Pre-warm the bank to room temperature before use. Bring an extra smaller bank as a thermal backup.
Above 40°C, the bank's BMS (battery management system) cuts output by 30-50% to protect cells. A 100W bank becomes 50-70W available. Real capacity delivered is also reduced (the bank's cells store less usable energy when hot).
Mitigation: Use a reflective bag or deploy the bank in shade. Don't leave it in direct sun. If you must charge in heat, expect the session to take 2-3x longer and plan for fewer simultaneous device charges.
Most airlines allow power banks up to 100Wh in carry-on; banks 100-160 Wh may require airline approval or must go in checked baggage. Banks above 160Wh are prohibited entirely. Get region-specific rules and packing tips in our airline compliance guide for power banks.
If you're traveling with an EcoFlow Delta 2 (1,024Wh), it must go in checked luggage with airline approval, and you'll need to provide UN38.3 documentation (a safety certification).
Check before booking:
Avoid banks without:
Unverified banks from third-party marketplaces are higher risk for counterfeit cells, poor solder joints, and swelling after 50-100 cycles.
This is the final bottleneck. You've chosen the right bank and device match, but the cable is the negotiator between them.
An e-marker chip embedded in the USB-C connector tells your bank and device, "This cable is certified for high-speed, high-power charging." Without it, both devices default to low-power negotiation (usually 5V/2A = 10W) for safety.
Cable Specs to Verify:
Real-world example: A friend's drone charger was limited to 18W via a standard (non-e-marked) USB-C cable. Swapping to a certified 3A e-marked cable instantly unlocked 45W charging, a 2.5x speed increase with zero hardware changes. The cable made the difference.
Once you've tested and validated your bank + cable + devices combo, document it:
Capacity is not a headline number. It's the intersection of rated Wh, architecture (AC vs. DC direct), cable certification, device protocol matching, temperature, and cross-load behavior. When you measure and test each variable, charging stops being a gamble and becomes a system.
Start with your drone ecosystem's power requirements. Match it to a bank whose real capacity (not rated Wh) covers your flight count with margin. Invest in certified, e-marked cables tested against your chargers. Build a documented kit tied to specific scenarios (weekend trip, week-long shoot, winter hiking). And always carry one backup smaller bank in your camera bag, it's the insurance policy for unexpected sessions.
Your goal: zero surprises in the field. Measure twice, charge once.
Next, consider these deeper dives based on your specific workflow:
Each of these extends your self-reliance and turns you into an expert in your own charging ecosystem, no guesswork, no surprises.